In the fast evolving world of AI video creation, finding tools that combine ease of use with powerful results can feel like searching for a needle in a haystack.
Luckily, Google's Flow offers a streamlined way for content creators to generate and animate engaging videos. Whether you're a seasoned producer or just starting out, mastering Flow can significantly elevate your visual storytelling.
In this guide, we'll walk step-by-step through leveraging Google's Flow to craft stunning videos, making complex processes simple and accessible.
Why Choose Google’s Flow for AI Video Creation?
Google’s Flow is a powerful tool for AI-driven video production, it generates four images simultaneously. This feature provides quick, diverse options, enabling creators to explore different visual ideas rapidly.
By offering multiple images at once, Flow saves valuable time and sparks creativity, making it easier to find the perfect visuals for your project. Additionally, since some generated images might be less accurate or contain errors, having multiple options allows you to select the best and most suitable visuals, ensuring your final output is of high quality.
Getting Started: Setting Up Your First Project
Step 1: Accessing Google Flow
- Navigate to the Google Labs Flow platform.
- Sign in with your Google account.
- Click on "Create New Project" to start a fresh scene.
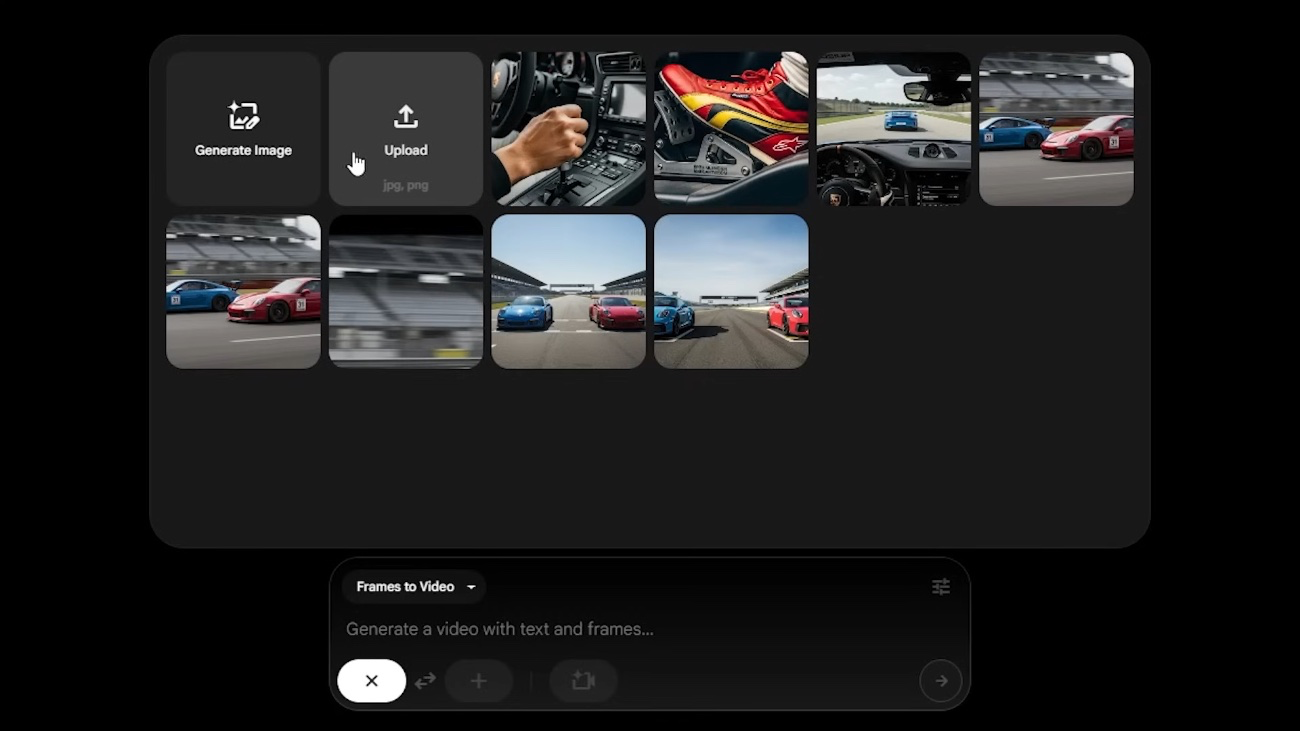
Step 2: Exploring the Scene Builder
Once inside, you'll find a user-friendly scene builder that lets you:
- Load assets like cars, backgrounds, and characters.
- Input prompts to generate visuals.
- Adjust scene settings such as camera angles and scene timing.
"This drop-down menu isn't just text to video; you also have frames to video, giving you more control."
Creating and Animating Visuals
Step 3: Generating Images
To set the foundation:
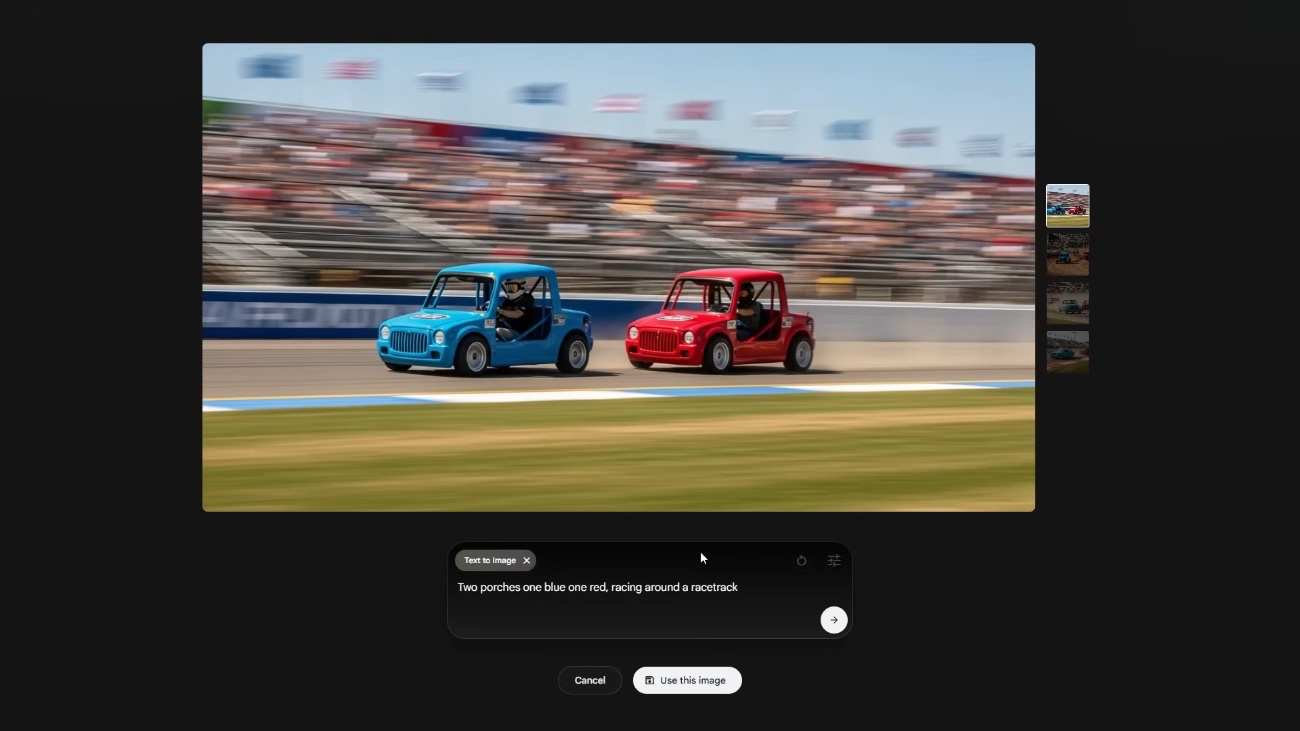
- Type your descriptive prompt, e.g., "Two porches one blue one red, racing around the race track".
- Click "Generate"—Google’s AI will produce four images simultaneously.
"Generating four images is recommended because some may hallucinate or be subpar."This approach ensures you have options and can pick the best visuals for your sequence.
Step 4: Refining Your Visuals
- Update your prompts with details like make, model, or environment to increase accuracy.
- Use "Reusable prompts" for quick re-generation without retyping everything.
- Select the most compelling image to animate.
Step 5: Animating and Controlling Your Video
- Use the "Frames to Video" feature for smooth animations.
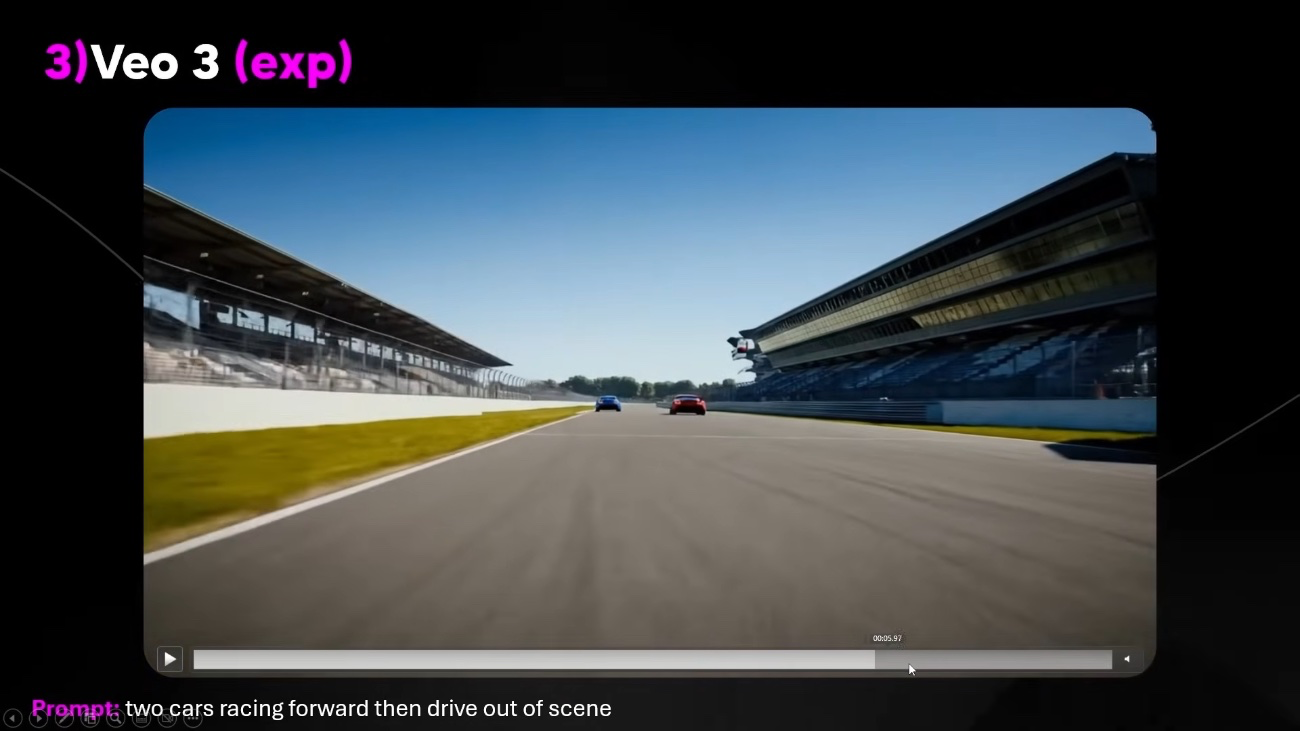
- Adjust camera angles by describing specific viewpoints, e.g.,
"A side view of the car speeding."
- When generating clips:
- Start with a single scene to avoid wasting credits.
- Use "extend clips" for longer scenes.
- Sometimes, clips may not play correctly or appear reversed due to software glitches; simply refreshing the browser often resolves these issues.
Fine-Tuning Your Video
Step 6: Editing and Scene Management
- Use the scene builder to:
- Cut unnecessary parts.
- Merge useful clips.
- Remove sections where objects revert or morph unexpectedly.
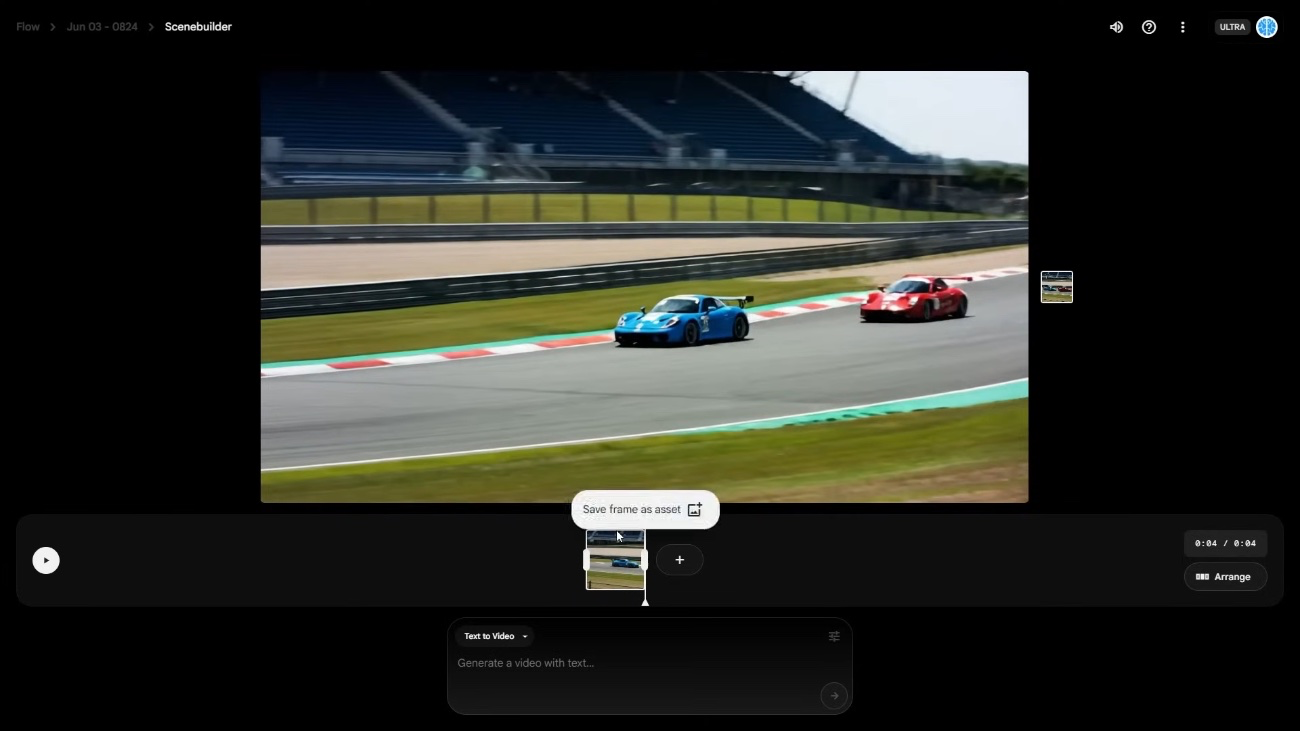
- Save specific frames as assets (hover over a frame and click "save frame as asset") to reuse visuals in different scenes.
Step 7: Incorporating Assets and Achieving Realism
- Load your own assets (cars, backgrounds) for full control.
- To fix resolution issues, upscale clips or download in original size before final assembly.

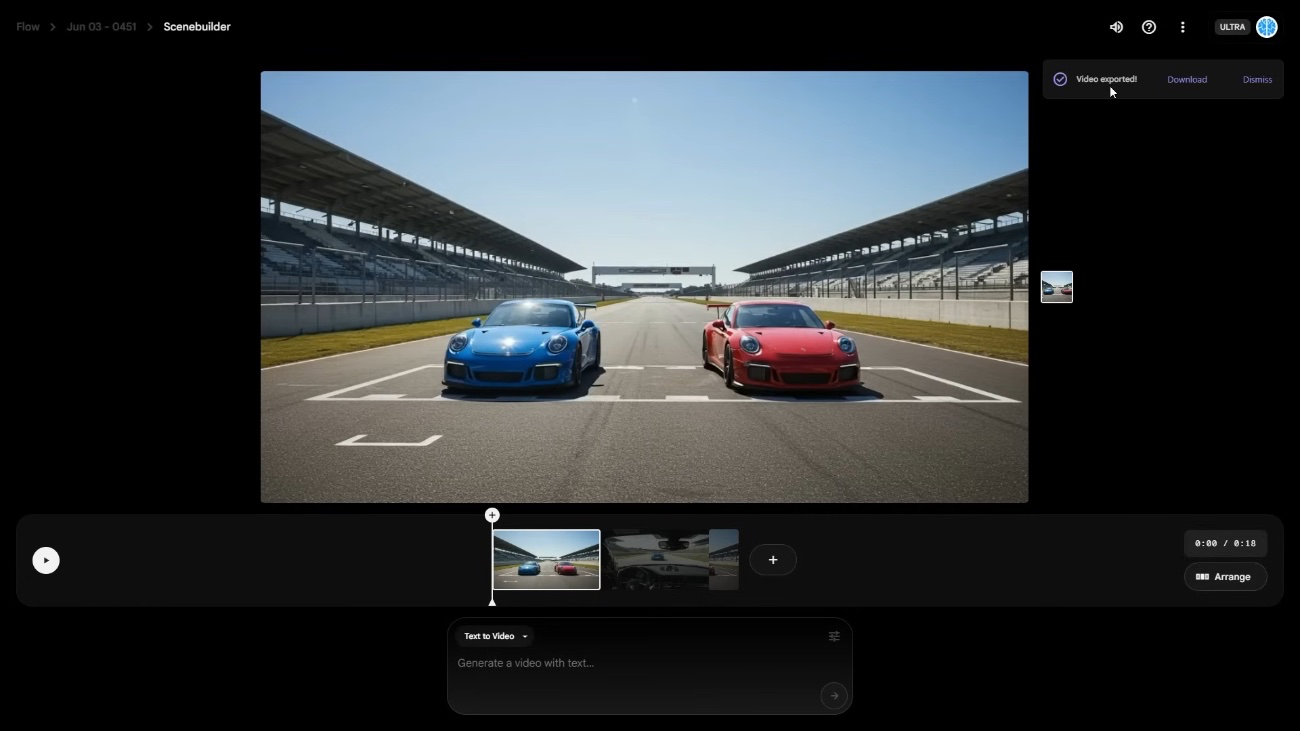
Step 8: Finalizing Your Video
- Review your scenes in full-screen mode.
- Make adjustments to timing and effects.
- Export your final video in the best quality possible.
Tips for Better Results
- Generate multiple images per prompt to select the best visuals.
- Use descriptive prompts that include make, model, and environment to avoid hallucinations.
- Keep prompts simple initially, then add details for refinement.
- Regularly save and back up assets—this makes adjustments easier down the line.
Comparison Table: Google Flow vs. Other AI Video Tools
| Feature | Google Flow | Other AI Video Tools |
|---|---|---|
| Image Generation | 4 images at a time | Usually 1-2 images |
| Scene Control | Frames to video, object alignment | Limited control |
| Asset Upload | Yes | Varies |
| Resolution Upscaling | Available | Sometimes requires external tools |
| Cost & Credits | Balance quality with credit management | Varies, often subscription-based |
Top Takeaways
- Generating multiple images ensures richer options and better results.
- Detailed prompts, including make, model, and scene specifics, lead to more accurate visuals.
- Scene and clip adjustments are crucial for polishing your final video.
- Reloading assets and upscaling can address quality concerns.
More resources?
Summary with key points
Watch on Youtube